How to save to an external USB with the SDS series of oscilloscopes
December 22, 2017
The SDS series of SIGLENT Digital Oscilloscopes have a number of save options that include copies of the displayed image (Bitmap, JPG, and PNG are common image types) as well as instrument configurations (Setups) and data (CSV).
Here are brief instructions on how to save files to external USB memory devices.
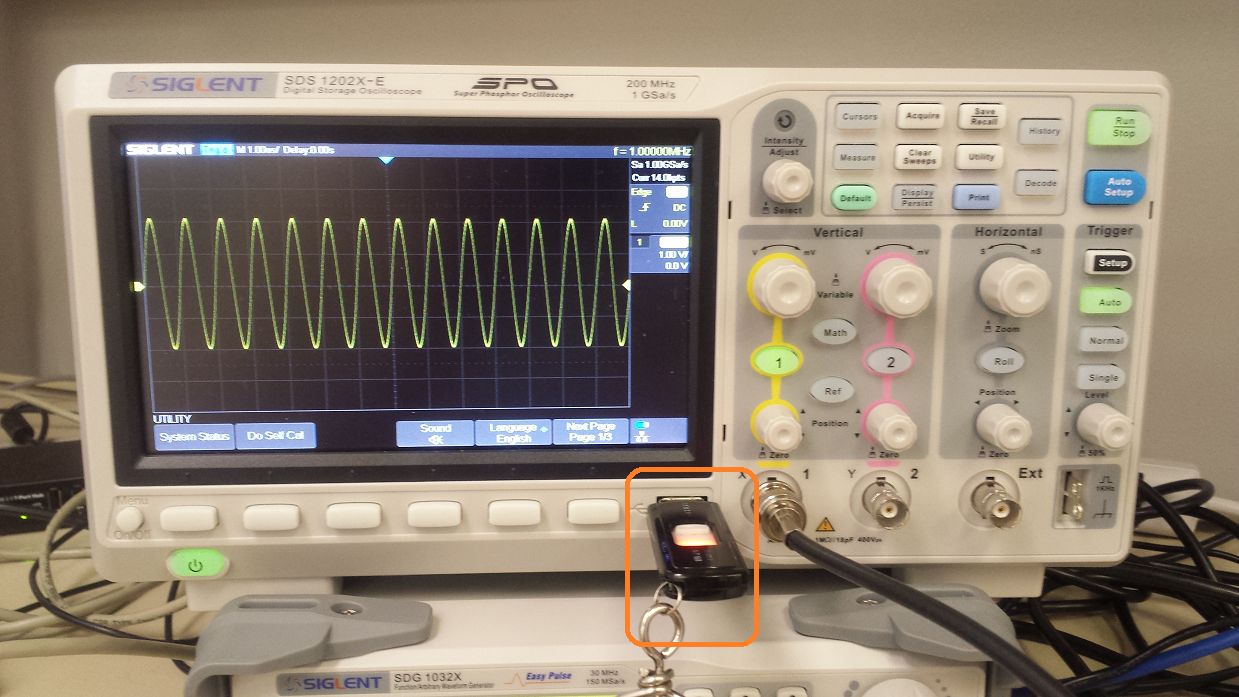
Insert a USB memory stick (FAT32 format) into the USB input located on the front of the instrument as shown below:
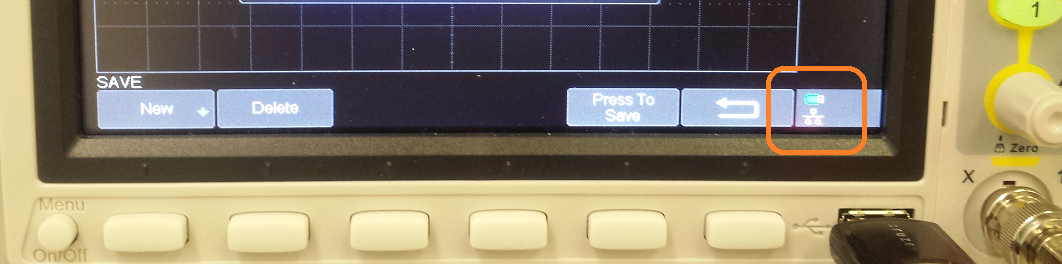
If the USB Memory device is recognized, a USB shaped icon will appear on the display, as shown below:
If the device is not recognized, it may not be FAT formatted or there could be another issue. Replace the device with a known working FAT USB device.
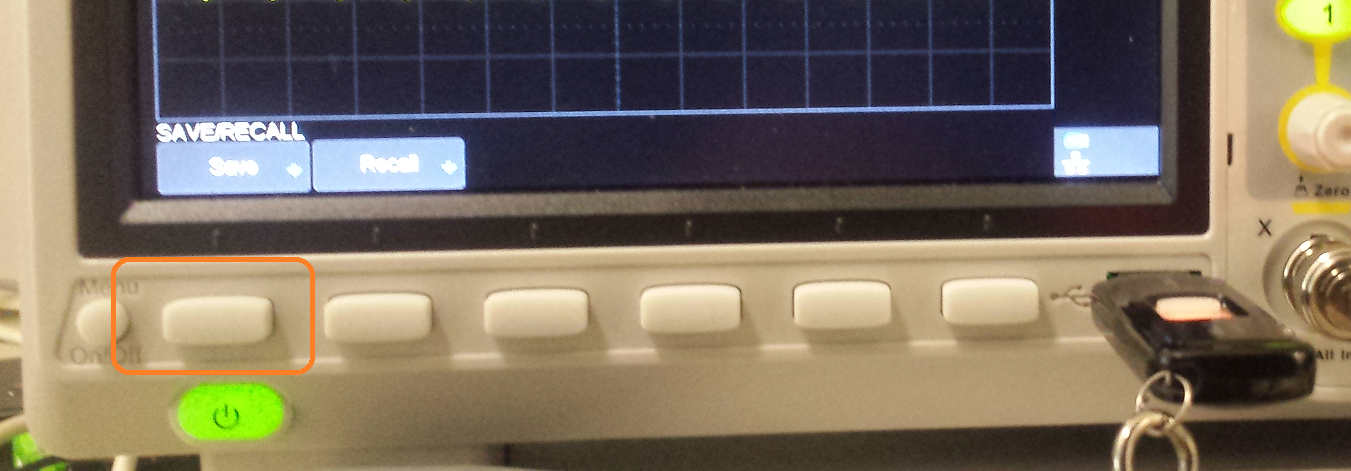
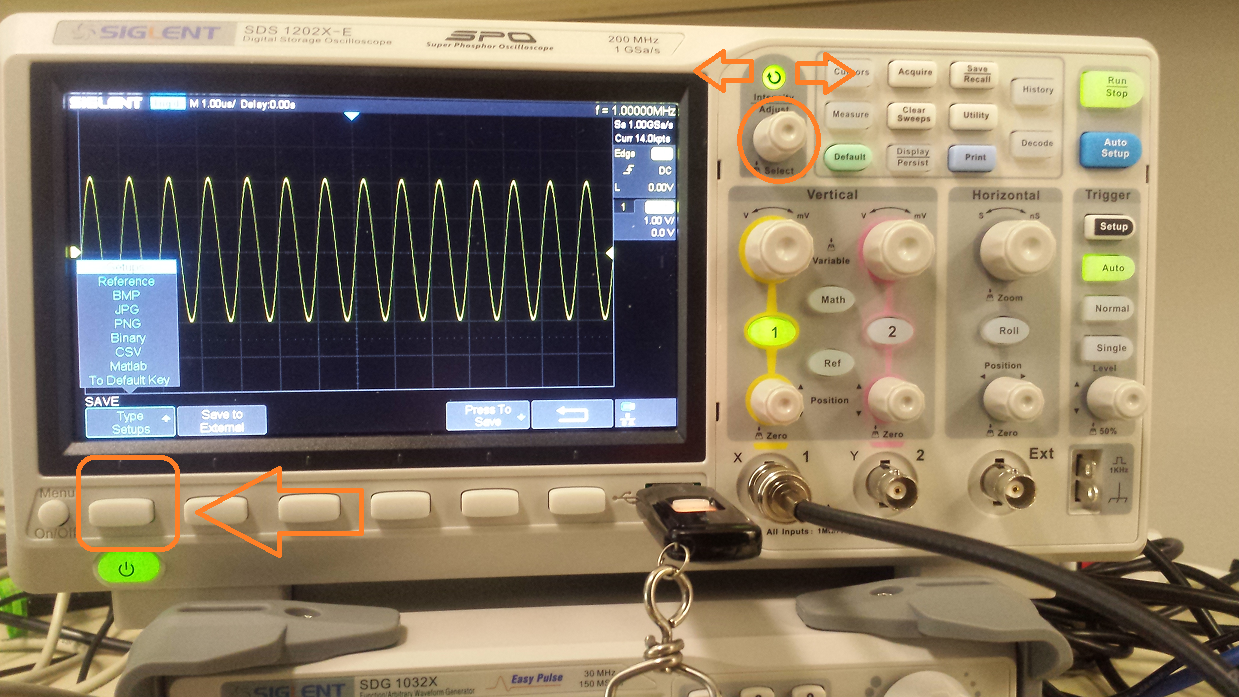
2. Press the “Save/Recall” button located on the front panel.
This will open the Save/Recall Menu, visible along the bottom edge of the display as shown below:

3. Press the softkey located below the “Save” label to open the Save menu
4. The Save menu allow you to select the file type and any key parameters associated with that file type.
Select the file type by pressing “Type”.
You can toggle through the selections by pressing the Type softkey again, or you can rotate the Intensity/Adjust knob. Pressing the Intensity/Adjust knob in to select the value.
NOTE: If you select Setup, you can set the “Save to” location (ether Internal or External, if a USB memory device has been recognized)
Setups are the only file type that can be saved internally on the local storage of the oscilloscope. All other file types can only be saved externally to a USB memory device.
5. Set any additional options (Screen type, Parameter Save, etc..) to configure the instrument to properly save the information that is of interest to you.
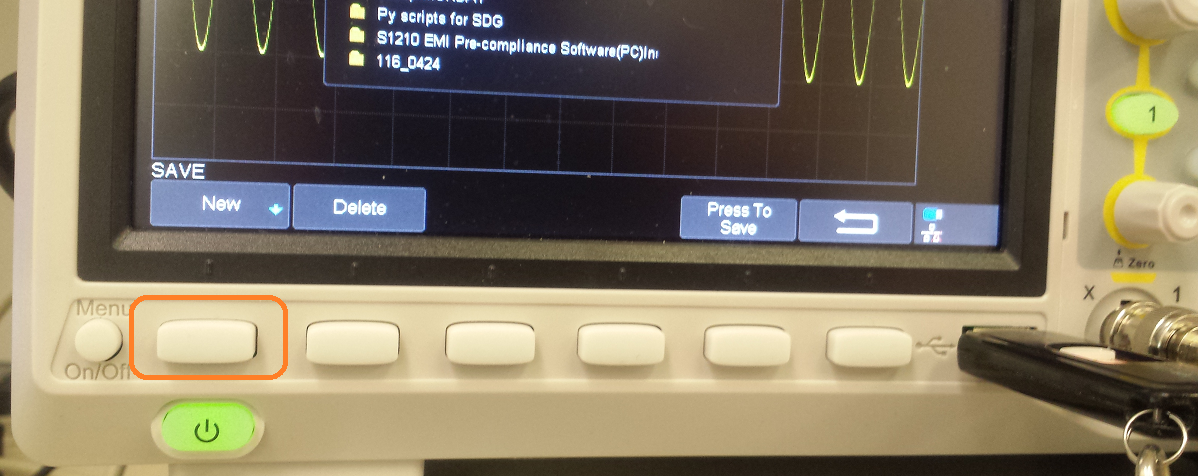
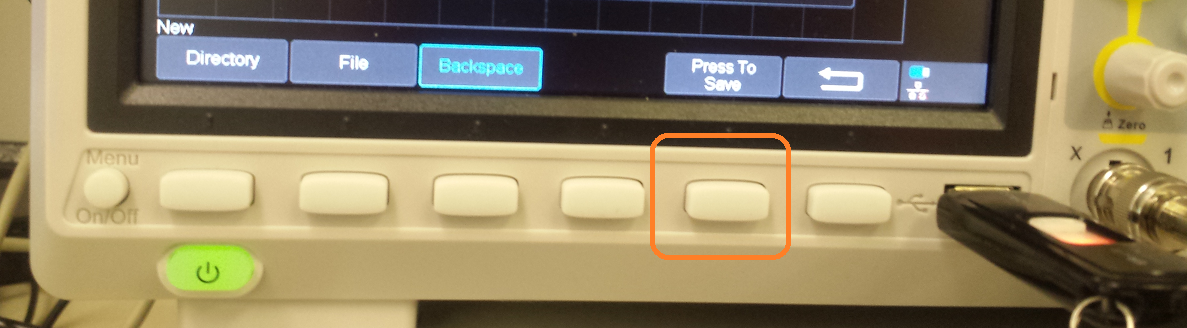
6. Press “Press to Save” to open the USB memory device save menu.

7. From here, you can create a new entry by pressing New:
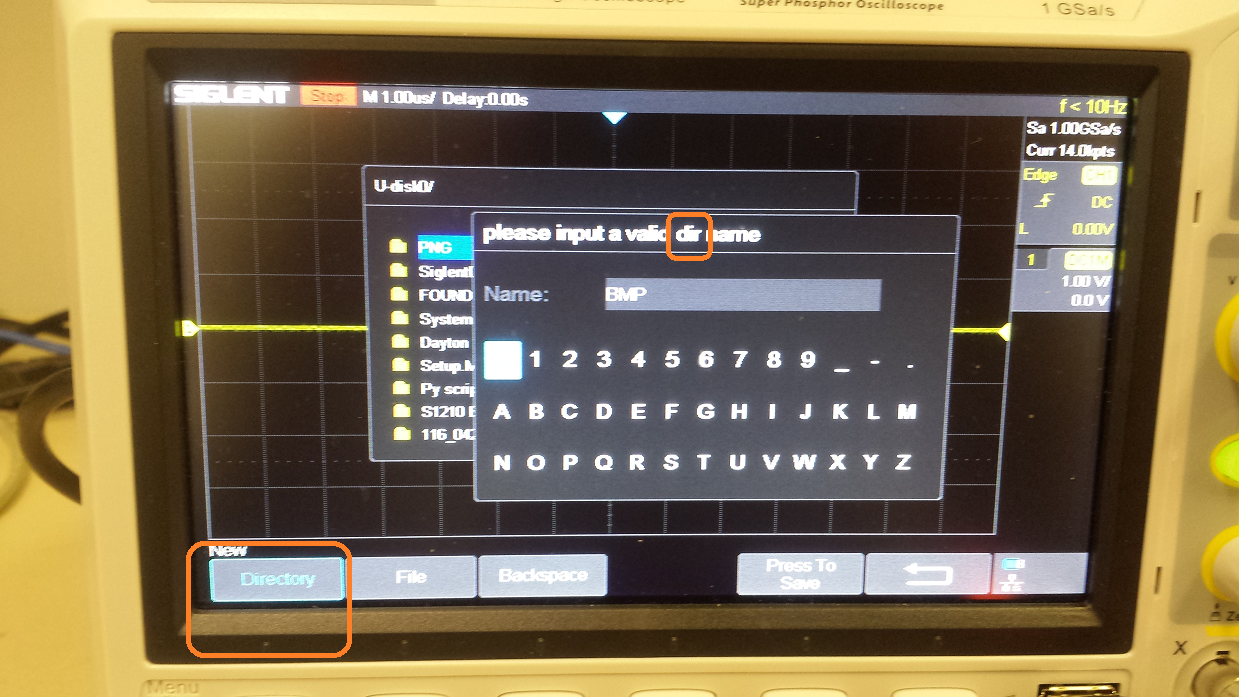
8. To create a new directory (Folder), press Directory.
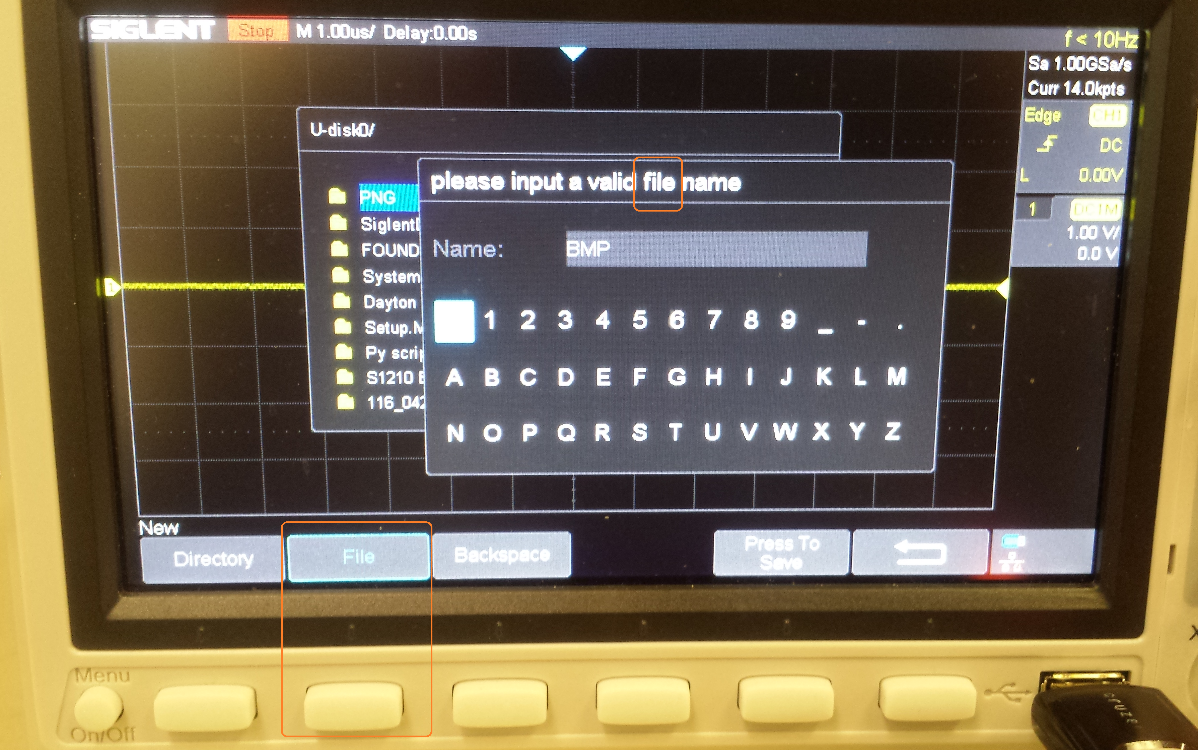
To create a new file, press File. The Input Field will indicate “file” name as shown below.
9. After creating the new file or directory, you can “Press To Save” to save a file using the default file or directory name or you can rename the file (see the next step for details)
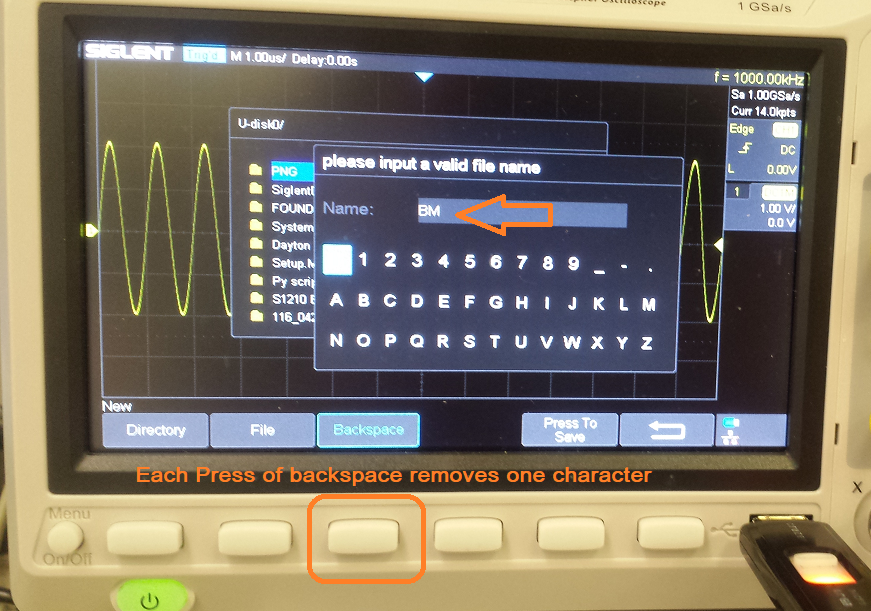
10. To change the name of a file or directory, press the softkey labeled Backspace to delete individual symbols in the default file name.
Each press of the Backspace will remove one character.
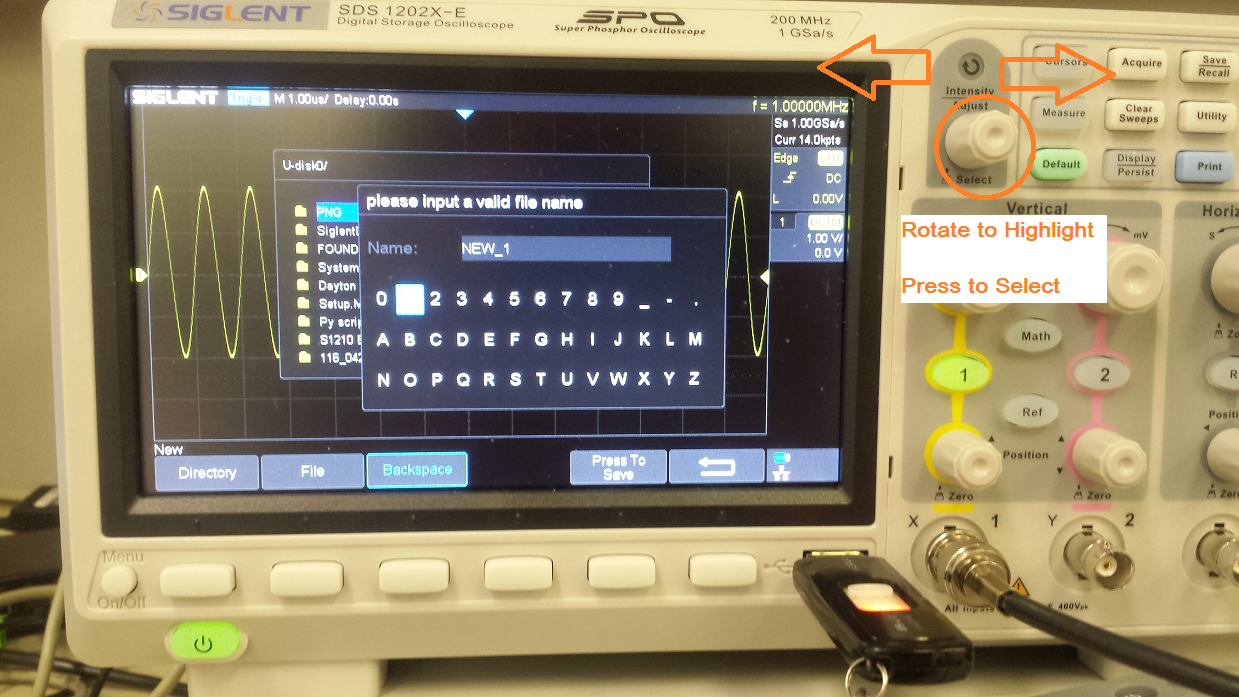
You can rotate the Intensity/Adjust knob to highlight a character and press it in to select the highlighted character.
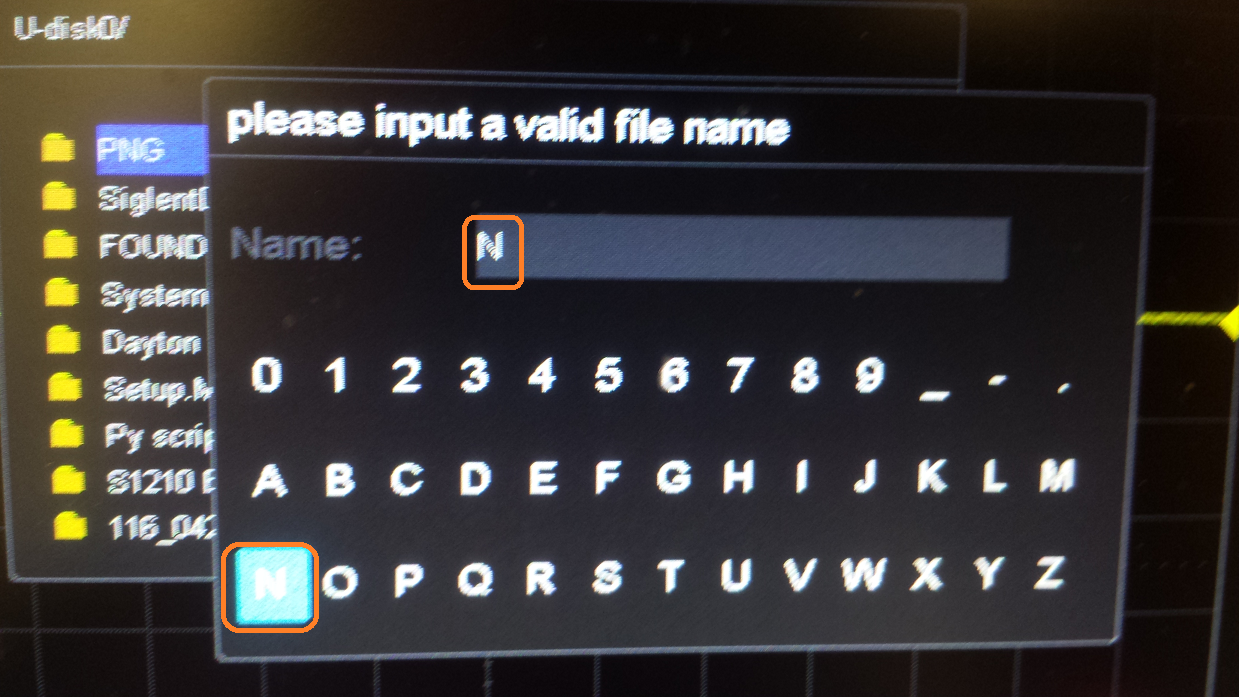
For example, you can press backspace to remove all of the default file character names, then use the intensity/adjust knob to highlight “N”, and press the knob in to select the character as shown:
Now, use the intensity/adjust knob to highlight the next character, “E”, and press the knob:
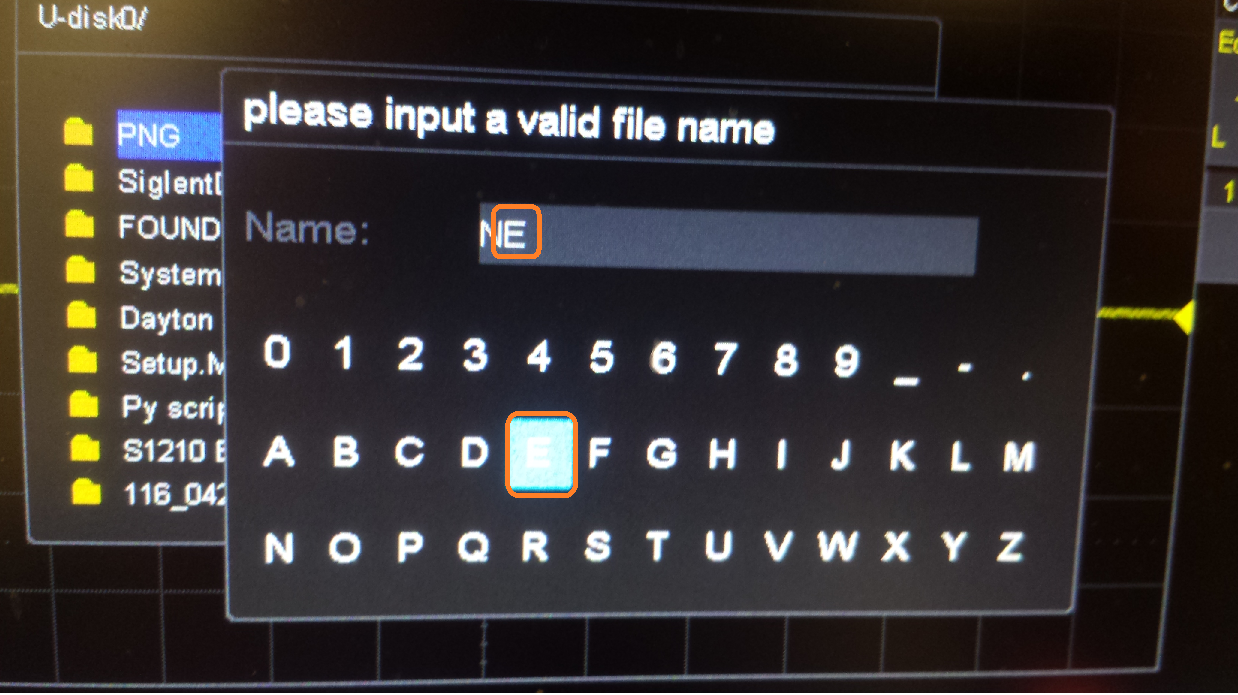
Continue highlighting each character and enter the character into the name using the intensity/adjust knob.
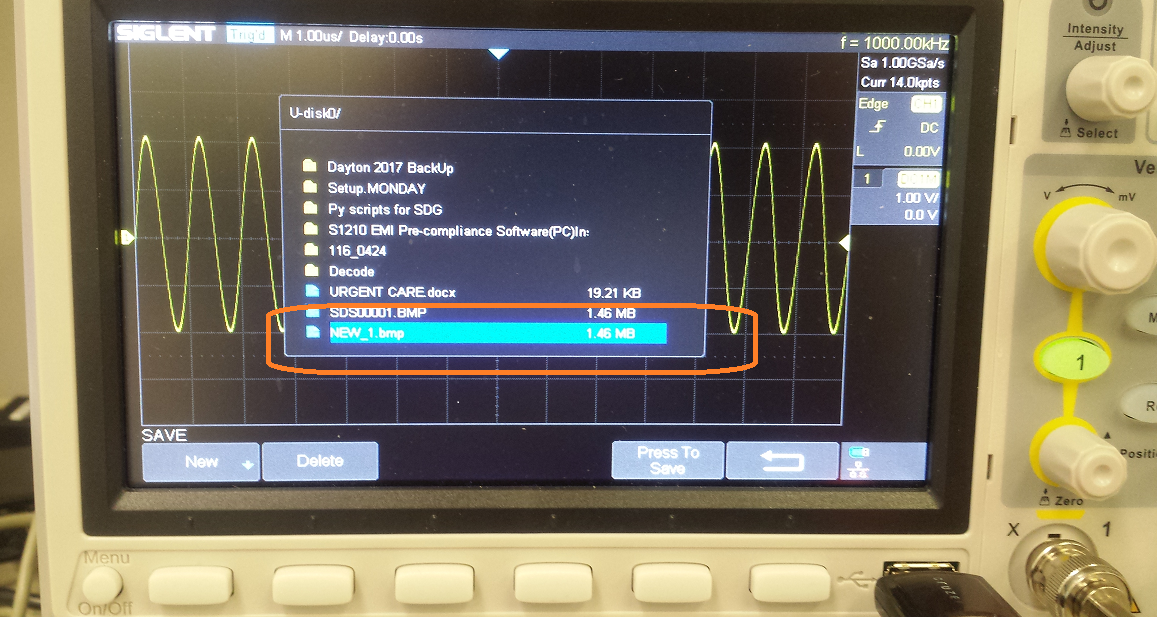
After entering each character in the new name, press “Press to Save” to complete the process and save the item to the USB memory device. Below, we show a new file named NEW_1.bmp to the external USB memory device: